
i3D Workbench · CAM tool Available
LaserArt3D
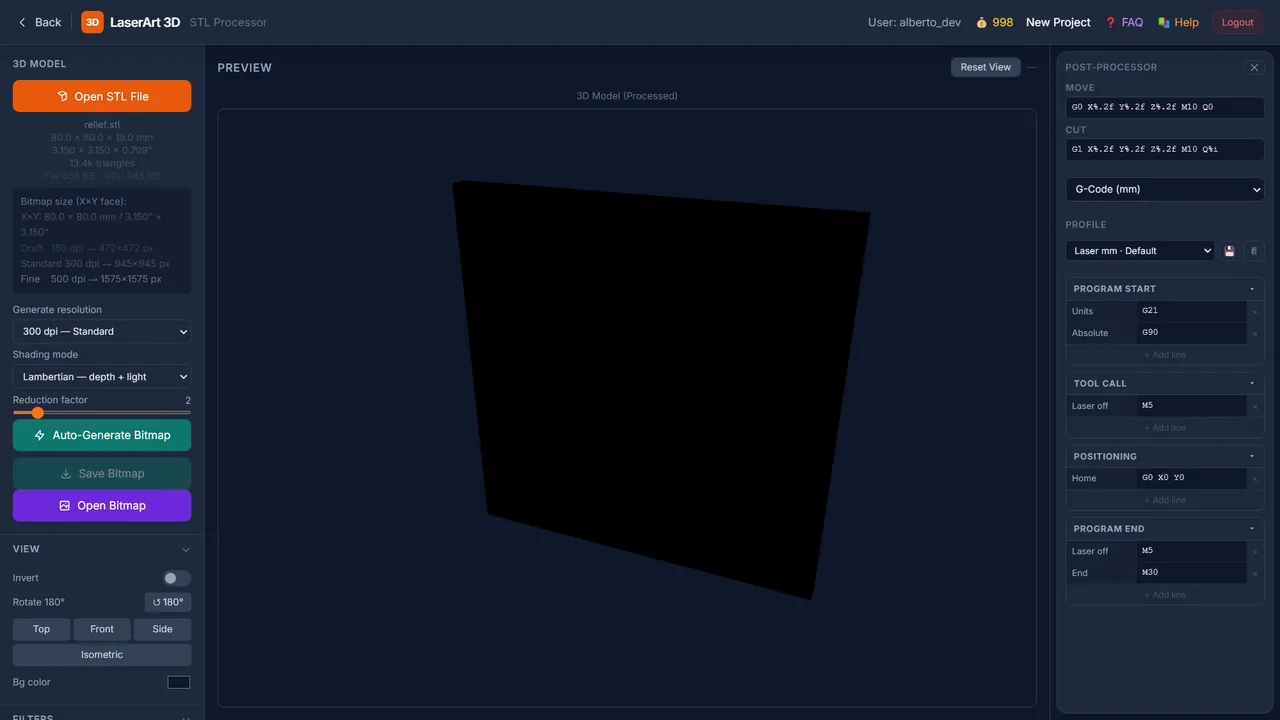
STL processor — render a 3D surface to a bitmap, then generate a laser engraving toolpath from it.
LaserArt3D renders a binary STL on the GPU from any camera angle, converts that view into a grayscale bitmap using one of nine shading modes (Lambertian, Normal Z, Ambient Occlusion, Curvature, Cavity, Fake Lighting, Height, Thickness, Bent Normal Gray) at 150, 300 or 500 dpi, and turns it into a laser engraving toolpath with the same adjustment, tone-curve and power pipeline as LaserX.
| Group | CAM |
|---|---|
| Status | Available |
| Input | STL (binary) |
| Output | TXT / G-code laser toolpath, PNG (rendered bitmap) |
| Max upload | 300 MB per file |
| Runs in | Desktop browser with WebGL 2 (Chrome, Edge, Firefox) — computation on Ahaborg's C++ backend |
| Billing | Pay-per-use credits, no subscription |
| Documented in | i3D Workbench User & Reference Manual v2026.10 |
Overview
Upload a binary STL. LaserArt3D renders the model on the GPU from the current camera angle and turns that view into a grayscale bitmap; you then apply the same image adjustments as LaserX and export a laser toolpath. Orbit the model to choose the engraving viewpoint — re-rendering and processing are debounced after you stop moving. Only the processed result view is kept on screen to save GPU memory.
Step by step
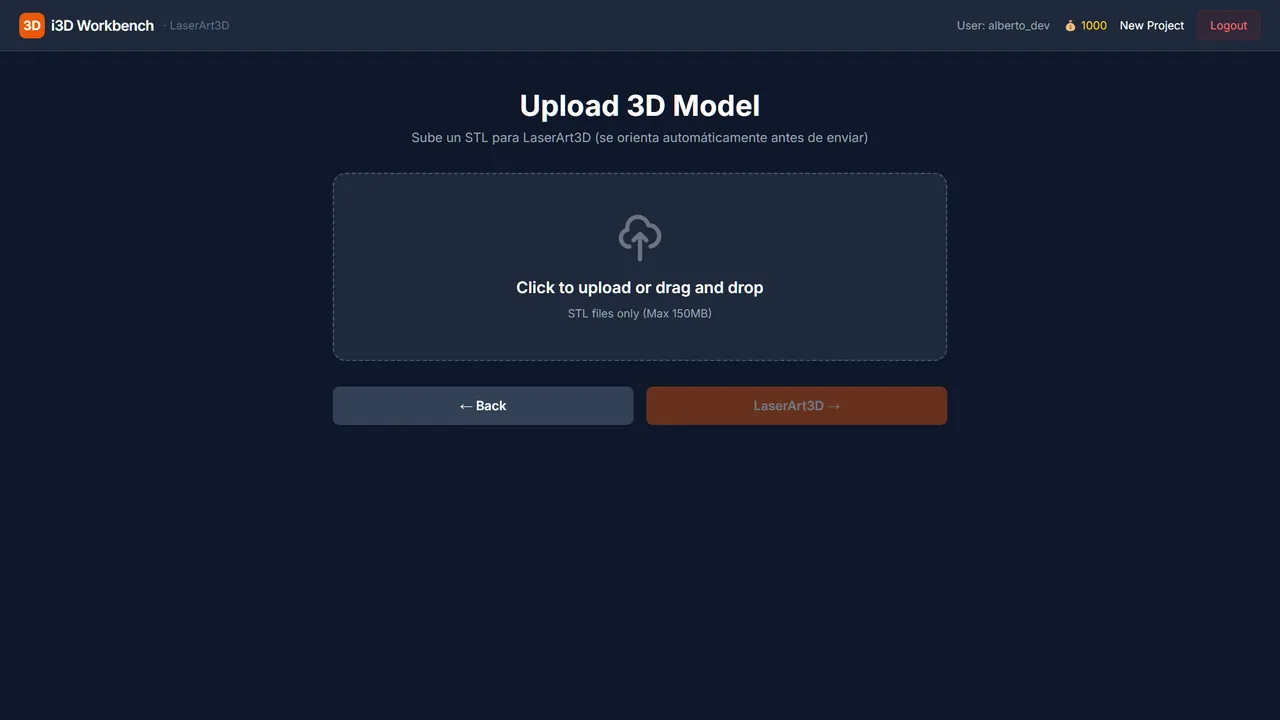
- Open LaserArt3D, select a binary STL and click Go.
- Orbit the model to the engraving viewpoint (or use Top / Front / Side / Isometric, ↺ 180°).
- Pick a Shading mode that emphasizes what you want engraved (Lambertian for a natural look, Curvature/Cavity for edges and crevices, Height for a depth map).
- Choose Generate resolution (150 draft · 300 standard · 500 fine dpi) and let the bitmap generate (or press Generate).
- Apply Filters 1–5 and the usual Adjustments; shape the Tone Curve.
- Set Power Min/Max and Focal Length, review the Post-Processor, click Process then Download Result.
Controls
Source & render
| Control | Range / values | Default | What it does |
|---|---|---|---|
| Generate resolution | 150 dpi Draft · 300 dpi Standard · 500 dpi Fine | — | Pixel resolution of the bitmap rendered from the 3D view. Higher = finer engraving, slower processing. |
| Shading mode | Lambertian · Normal Z · Ambient Occlusion · Curvature · Cavity · Fake Lighting · Height · Thickness · Bent Normal Gray | — | How the surface is converted to grayscale. Determines what the engraving emphasizes. |
| Reduction factor | — | — | Mesh simplification applied before rendering (speed vs. detail). |
| View | Top · Front · Side · Isometric · ↺ 180° | — | Standard camera positions and a 180° rotation. |
| Invert / Bg color | — | — | Invert the rendered tones; background colour of the render. |
| Auto-generate bitmap / Save bitmap | — | — | Generate the bitmap from the current view automatically, or download it. |
Filters
| Control | Range / values | Default | What it does |
|---|---|---|---|
| Filter 1 – 5 | — | — | Surface filters applied during the render → bitmap step (each with reset). |
Adjustments
Identical pipeline to LaserX, applied to the rendered bitmap (debounced):
- Brightness (−100…+100), Contrast (−100…+100), Gamma (0.10…4.00)
- Blur (0…200) and Sharpen (0…50)
- Threshold (0–255, with on/off toggle), Invert, B/W
- Pointillist + Dot size (0.5–20) — dot-pattern engraving
Tone Curve
| Control | Range / values | Default | What it does |
|---|---|---|---|
| Curve editor | — | — | Click to add control points, right-click to remove, Reset to clear. Reshapes the brightness-to-power mapping. |
Power
| Control | Range / values | Default | What it does |
|---|---|---|---|
| Min / Max (%) | 0 – 100 | 20 / 80 | Laser power for the lightest and darkest tones. |
| Focal Length (mm) | — | — | Focal distance used for the engraving. Affects depth/power compensation. |
Post-Processor
Collapsible right-side panel (shared with LaserX/OtkMaster) defining the G-code header/footer and the Move/Cut templates used on export.
Actions
| Control | Range / values | Default | What it does |
|---|---|---|---|
| Process | — | — | Runs a full render + process from the current view (ProcessArt3D). |
| Download Result | — | — | Exports the laser toolpath file. Enabled after a successful Process. |
| Reset View | — | — | Recenters the camera. |
Tips & tricks — LaserArt3D
- Decide the viewpoint first, then everything else — every orbit triggers a re-render and re-process.
- Lambertian gives the most “photographic” engraving; Cavity or Ambient Occlusion make bas-reliefs pop by darkening the crevices; Height is the right choice when the laser should reproduce depth, not light.
- Combine two filters at most; stacking all five flattens the tonal range.
- Use 150 dpi (Draft) while choosing shading and filters, 300–500 only for the final Process.
- Lower the Reduction factor only if you see faceting in the render; big meshes render slower without visible gain at 300 dpi.
- Save the generated bitmap: you can fine-tune it in LaserX later without re-uploading the STL.
Troubleshooting
The render is black / the model is missing.
The camera is inside or behind the model. Press Reset View or a standard view.
Processing is slow.
Lower Generate resolution and Reduction factor; close other WebGL tabs.
Works well with
Tools that chain with LaserArt3D — see the workflows.