
i3D Workbench · Input tool Available
Bitmap to 3D
Upload a BMP or PNG image and convert brightness variations to a 3D relief mesh.
Bitmap to 3D turns a BMP, PNG or JPG image (up to 300 MB) into a 3D relief mesh — lighter pixels become higher, darker pixels lower. The Model Editor controls Z scale (1–50), detail, background texture, mesh reduction, smoothing, a base plane and per-axis Bezier correction curves; the Final View applies PBR materials and exports binary STL (for CNC and 3D printing) or GLTF/GLB.
| Group | Input |
|---|---|
| Status | Available |
| Input | BMP, PNG, JPG |
| Output | STL (binary), GLTF / GLB |
| Max upload | 300 MB per file |
| Runs in | Desktop browser with WebGL 2 (Chrome, Edge, Firefox) — computation on Ahaborg's C++ backend |
| Billing | Pay-per-use credits, no subscription |
| Documented in | i3D Workbench User & Reference Manual v2026.10 |
Overview
Lighter areas become raised regions; darker areas become recessed. The conversion is controlled by the Model Editor (also called Curve Editor), which lets you tune height, detail, smoothing and per-axis correction curves, and by the Final View, where you pick a material and download STL or GLTF/GLB.
Step by step
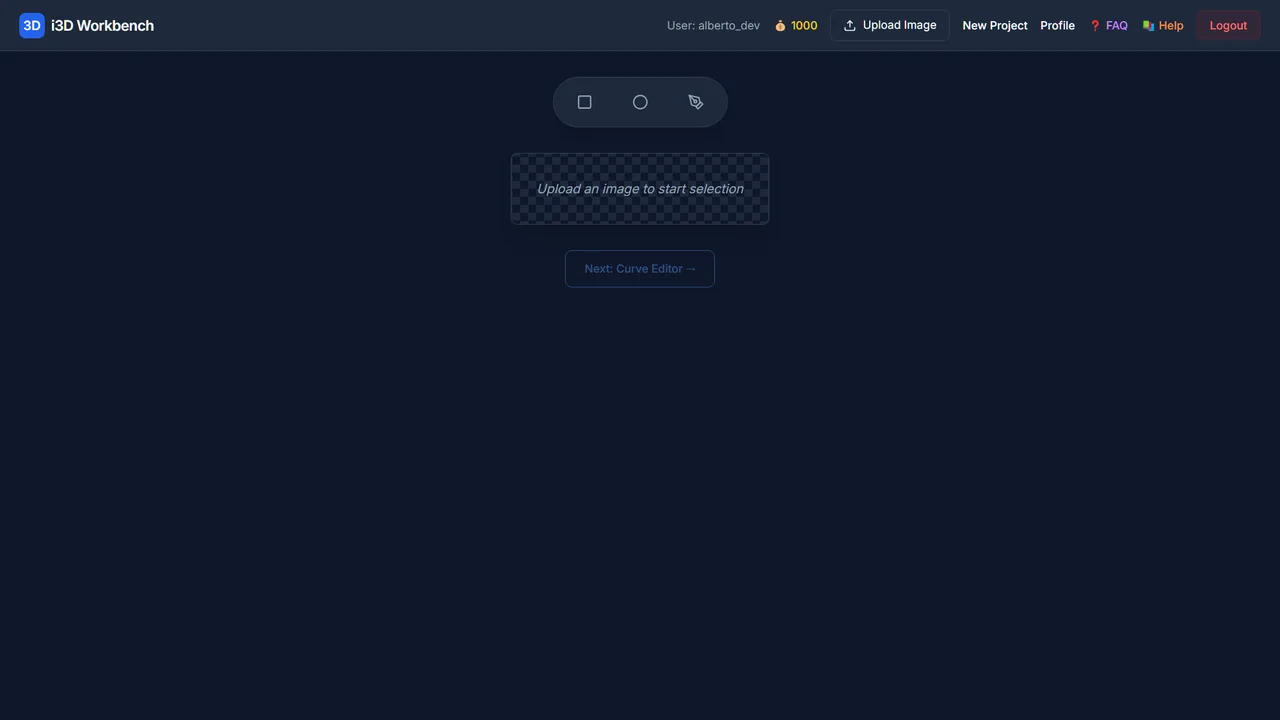
- Open Bitmap to 3D and select a BMP or PNG (up to 300 MB). The image appears as a preview.
- Optionally draw a clipping shape (Rect / Circle / Pixel tools) to keep only part of the image, then click Next.
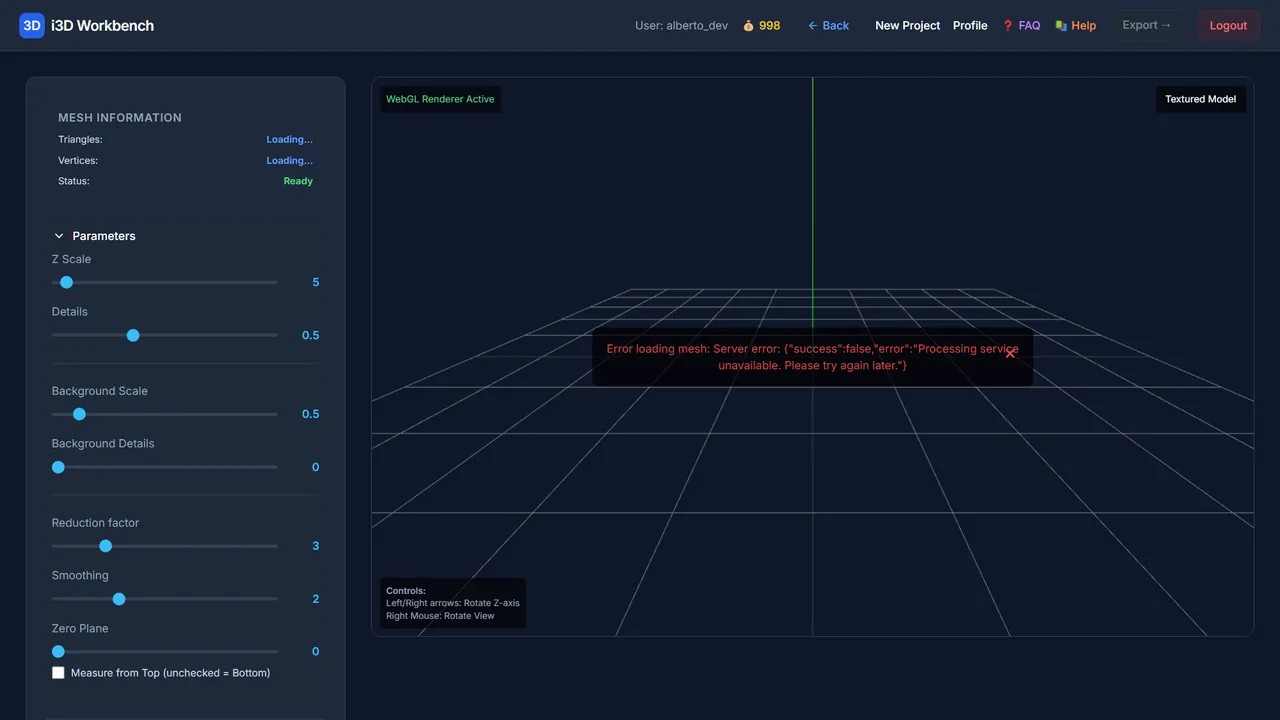
- The Model Editor opens and the server builds the first mesh. Sliders are disabled until it arrives.
- Set Z Scale first (overall height), then Details, Smoothing and Zero Plane. Every change is debounced and recomputed on the server.
- Shape the Correction Curves (X, Y, Z) to control how brightness maps to height. Press M to toggle material shading.
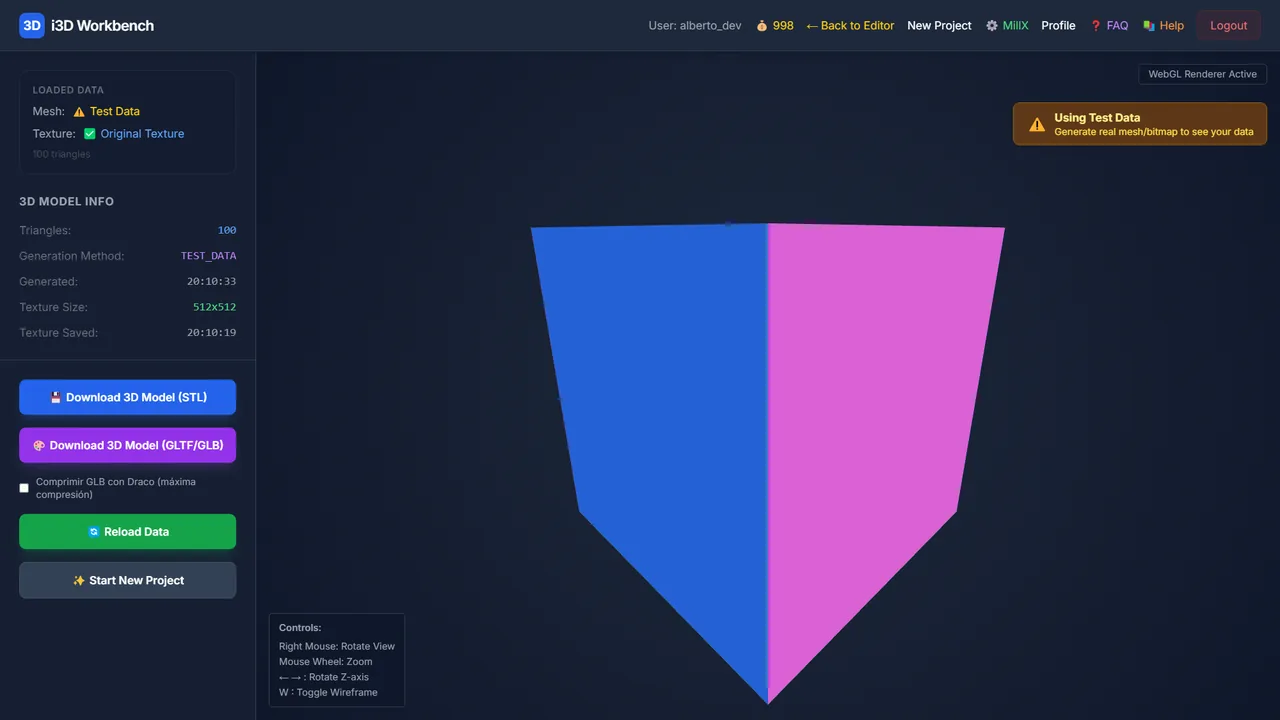
- Click Export → to open the Final View, choose a material preset and download STL (printing/CNC) or GLTF/GLB (viewers/web).
Controls
Upload step
| Control | Range / values | Default | What it does |
|---|---|---|---|
| File Upload | BMP · PNG (JPG accepted) · ≤ 300 MB | — | Select an image. After upload the image appears as a preview. |
| Rect / Circle / Pixel | — | — | Clipping tools: draw a rectangle or circle (medallions), or pick pixels, to restrict the relief to an area. Optional. |
| Next | — | — | Saves the image (and the clipping shape) and opens the Model Editor. |
Model Editor — Mesh Information
Triangles, vertices and processing status of the current mesh.
Model Editor — Parameters
All sliders are debounced 500 ms — the server is called only after you stop moving them.
| Control | Range / values | Default | What it does |
|---|---|---|---|
| Z Scale | 1 – 50 | — | Overall height/depth of the relief. Higher = taller peaks. The value is doubled before being sent to the server. |
| Details | 0 – 5 | 0.5 | Level of fine detail preserved in the main relief. |
| Background Scale | 0 – 5 | — | Texture scale in flat background areas. |
| Background Details | 0 – 5 | — | Detail level in flat background areas. |
| Reduction factor | 0 – 10 | — | Mesh simplification. Higher = fewer triangles. Balance quality vs. file size. |
| Smoothing | 0 – 5 | — | Surface smoothing passes. Use sparingly — it can erase fine details. |
| Zero Plane | 0 – 5 | — | Height of the flat base plane below the relief. |
Model Editor — Correction Curves (X, Y, Z)
| Control | Range / values | Default | What it does |
|---|---|---|---|
| Linear / Curve | — | — | Switch each axis between a straight mapping and an editable Bezier curve. |
| Control points | — | — | Drag points to reshape the brightness-to-height mapping. Right-click + drag the endpoints to tilt the curve. |
| Invert | — | — | Flips the curve vertically (light becomes low, dark becomes high). |
| Reset | — | — | Restores the default curve. |
Final View
| Control | Range / values | Default | What it does |
|---|---|---|---|
| Material Preset | Gray · Metal · Gold · Chrome · Glass · … | — | Visual material for the preview and for the GLTF export. |
| Light Intensity / Roughness / Metalness | — | — | Fine-tune the material appearance. |
| Wireframe (W) | — | — | Overlays the triangle edges — useful to judge the Reduction factor. |
| Download STL | — | — | Geometry only — for 3D printing or CNC (MillX). |
| Download GLTF/GLB | — | — | Geometry + material + textures — for 3D applications and web viewers. |
Tips & tricks — Bitmap to 3D
- Start with a high-contrast grayscale image. Color is converted to luminance; two different colors with the same brightness become the same height.
- Adjust Z Scale first, then Details; leave Smoothing at 0–1 until the end, and add it only to remove JPEG noise.
- Keep Reduction factor at 3–5 for a balance of quality and file size; check the result with the wireframe overlay (W) before exporting.
- Use the Z correction curve with an S-shape to flatten the background and emphasize mid-tones — it produces a much more “carved” look than raising Z Scale.
- A circular clipping on the upload page is the fastest way to make medallions and coins; add a Zero Plane of 1–2 for a solid base.
- Soft blur in your image editor before upload (radius 1–2 px) removes halftone patterns that otherwise become ripples in the relief.
- STL is what MillX and slicers need; export GLTF/GLB only for presentations — it carries the material you chose.
Troubleshooting
Sliders are disabled.
The first mesh has not arrived yet. They enable automatically once the server responds; if the status shows an error, go Back and upload again.
The relief is inverted (dark areas raised).
Press Invert on the Z correction curve.
The mesh is huge / download is slow.
Raise Reduction factor or reduce the image resolution before upload. The triangle count is shown in Mesh Information.
Works well with
Tools that chain with Bitmap to 3D — see the workflows.